So, you’ve taken the plunge and ordered your first electric vehicle—congratulations! There’s nothing quite like that feeling of joining the EV revolution. But here’s the thing: while you’re probably counting down the days until your new car arrives, there’s one crucial question you need to answer first: How are you actually going to charge it at home?
Trust me, I’ve seen too many excited new EV owners realize on delivery day that charging their car from a regular wall outlet is like trying to fill a swimming pool with a garden hose. It works, technically, but you’ll be waiting a very long time.
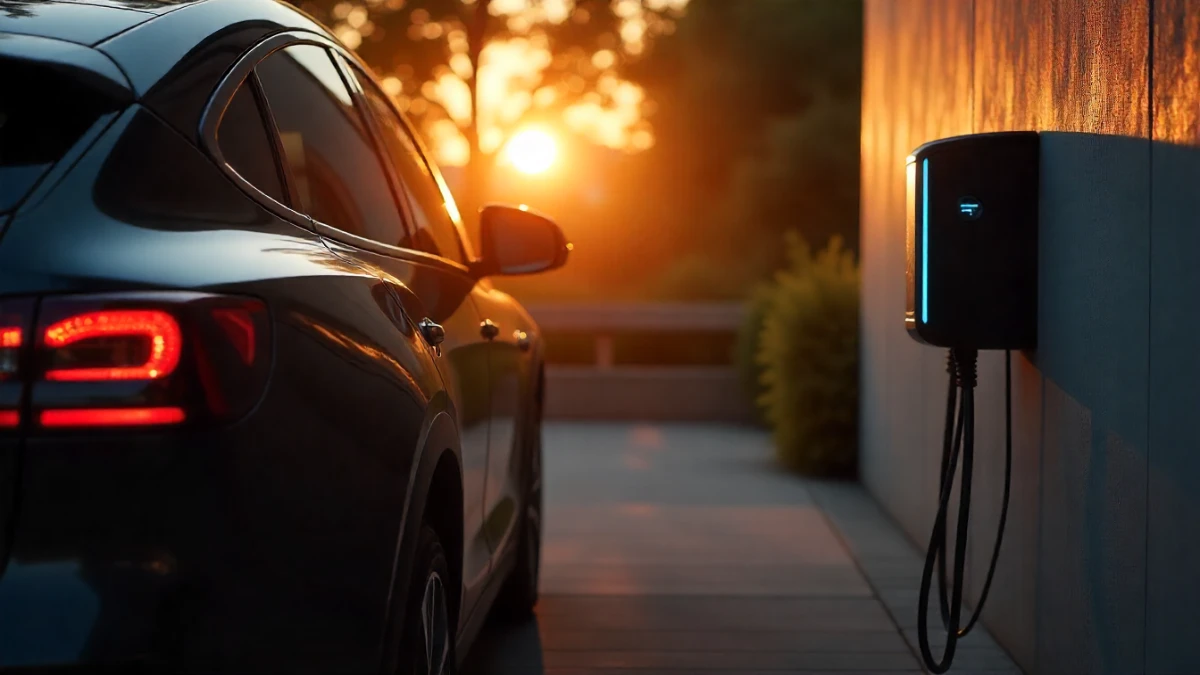
That’s where a dedicated home EV charger comes in. Installing one is honestly one of the smartest investments you can make as an EV owner—it’s the difference between waking up every morning to a fully charged car and constantly playing the “will I have enough range?” game. In this guide, I’m going to walk you through everything you need to know about installing a home EV charger, from choosing the right equipment to understanding the costs and finding a qualified electrician.
Let’s dive in and get your home EV-ready!
Understanding EV Charging Levels: What You’re Actually Installing
Before we talk installation, you need to understand what you’re working with. EV charging comes in three levels, and spoiler alert: you’ll almost certainly want Level 2 charging at home.
Level 1 charging uses your standard 120-volt household outlet—the same one your toaster uses. It’s excruciatingly slow, adding only about 3-5 miles of range per hour of charging. If you drive a lot or have a bigger battery (we’re talking 60+ kWh), you could literally be charging for days to get a full battery. Most EV owners quickly realize this isn’t sustainable for daily use.
Level 2 charging is the sweet spot for home installation. It uses a 240-volt circuit (like your electric dryer or oven) and can add 25-30 miles of range per hour, sometimes more depending on your car and charger. This means you can fully charge most EVs overnight, even if you arrive home with a nearly empty battery. This is what we’ll focus on in this guide.
Level 3 charging (DC fast charging) is what you find at commercial charging stations along highways. It’s incredibly fast but requires industrial-grade equipment and electrical infrastructure that’s completely impractical and prohibitively expensive for home use. Unless you’re running a commercial charging station, forget about Level 3 at home.
Choosing Your Home EV Charger: What to Look For
Not all Level 2 chargers are created equal, and choosing the right one can feel overwhelming when you’re staring at dozens of options online. Here’s what actually matters:
Charging Speed (Amperage)
Home EV chargers typically range from 16 to 50 amps, though 32-40 amps is the sweet spot for most households. A 40-amp charger can deliver about 9.6 kW of power, which translates to roughly 30-35 miles of range per hour for most EVs. Before you buy the most powerful charger you can find, check your car’s onboard charger capacity—many EVs can only accept a maximum of 7.2 kW or 11 kW, so a more powerful charger won’t actually charge them any faster.
Cable Length
This seems minor until you realize your charging port is on the opposite side of your car from where you planned to mount the charger. Most chargers come with 18-25 foot cables, which gives you flexibility in parking. Longer is generally better, but remember that longer cables can be heavier and more cumbersome to handle.
Smart Features
Modern EV chargers can do a lot more than just pump electrons into your car. Look for features like:
- WiFi connectivity and smartphone apps (so you can monitor and schedule charging)
- Energy usage tracking (great for understanding your charging costs)
- Scheduled charging (to take advantage of off-peak electricity rates)
- Integration with home energy systems and solar panels
Are these features necessary? Not really. Are they convenient? Absolutely.
Outdoor Rating
Even if you’re installing in a garage, get a charger rated for outdoor use (NEMA 3R or NEMA 4). Weather happens, garages aren’t always perfectly sealed, and you want equipment that can handle temperature fluctuations and moisture.
Brand and Warranty
Stick with established brands like ChargePoint, JuiceBox, Grizzl-E, Wallbox, or Tesla (if you have a Tesla). These companies have proven track records and offer solid warranties—typically 3 years or more. Your charger is a long-term investment; this isn’t the place to save $100 by buying an unknown brand from an overseas marketplace.
Assessing Your Home’s Electrical Capacity: Can Your Panel Handle It?
Here’s where things get real. Before you buy any equipment, you need to figure out if your home’s electrical system can actually support an EV charger.
Your home has an electrical service panel (your breaker box) with a certain capacity, typically 100, 150, or 200 amps for most residential homes. Everything in your house—air conditioning, electric heating, water heater, appliances—draws from this capacity. A 40-amp EV charger will be one of the largest loads in your home.
The Quick Math
Most electricians use a load calculation to determine if your panel can handle an EV charger. As a rough rule of thumb: if you have a 200-amp service and no electric heating, you’re probably fine. If you have a 100-amp service or you already run a lot of high-draw appliances (electric heat, multiple air conditioners, electric water heater, pool pump), you might be pushing the limits.
Signs You Might Need an Upgrade
- Your panel is older (30+ years) or has fuses instead of breakers
- You frequently trip breakers when running multiple appliances
- You have less than 100-amp service
- Your panel is already full with no space for additional breakers
Panel upgrades aren’t cheap—typically $1,500-$3,000 or more depending on your situation—but they’re sometimes necessary. The good news? Many utilities offer rebates for panel upgrades done in conjunction with EV charger installation.
The Installation Process: What to Expect
Now for the main event: actually getting that charger installed. Unless you’re a licensed electrician (and even then, many jurisdictions require permits for this work), you’ll need to hire a professional.
Step 1: Get Multiple Quotes
Contact at least 3 licensed electricians who have EV charger installation experience. Not all electricians are familiar with EV charging equipment, and you want someone who’s done this before. Ask about:
- Total cost including labor, materials, and permits
- Timeline for completion
- Whether they’ll handle permit applications
- Warranty on their work
- Whether they’re familiar with local utility rebate programs
Step 2: Site Assessment
Your electrician will visit to assess your specific situation. They’ll look at:
- Distance from your electrical panel to the installation location
- Whether they can run wiring through walls, attic, or need external conduit
- Condition of your electrical panel and available capacity
- Where you want the charger mounted for optimal convenience
Step 3: Permitting
Most jurisdictions require electrical permits for EV charger installation. Your electrician should handle this, but it can add 1-2 weeks to the timeline depending on your local building department. Don’t skip permits—they ensure the work meets code and you won’t have issues when you sell your home.
Step 4: Installation Day
The actual installation typically takes 4-8 hours, sometimes more if your panel is far from the installation location or if panel upgrades are needed. The electrician will:
- Install a dedicated circuit breaker in your panel
- Run appropriate gauge wiring (typically 6 or 8 AWG wire for a 40-50 amp circuit)
- Install the charger mounting bracket
- Connect and test the charger
- Ensure everything is properly grounded
Step 5: Inspection
Your local building department will likely need to inspect the work. Some areas allow electricians to “self-certify,” but many require an official inspection. Don’t use your charger until this is complete and approved.
Cost Breakdown: What You’ll Actually Pay
Let’s talk numbers, because I know that’s what you’re really wondering about.
Equipment Costs:
- Basic Level 2 charger: $300-$600
- Mid-range charger with smart features: $600-$900
- Premium charger: $900-$1,500+
Installation Costs:
- Simple installation (panel close to garage, minimal wiring): $500-$1,000
- Standard installation (some wiring run needed): $1,000-$2,000
- Complex installation (long wire runs, extensive conduit, panel upgrade): $2,000-$5,000+
Total Investment: $800-$6,500+ for most homeowners, with the average falling around $1,500-$2,500 for equipment and installation combined.
Ways to Reduce Costs:
- Federal Tax Credit: The IRS offers a tax credit covering 30% of hardware and installation costs, up to $1,000 (as of 2024).
- Utility Rebates: Many electric utilities offer rebates of $250-$1,000 for EV charger installation. Some even offer free installation under certain programs.
- State and Local Incentives: Many states and municipalities offer additional incentives. Check dsireusa.org for your area.
- Buy Charger Separately: Sometimes you can save money buying the charger online yourself rather than through the electrician’s markup.
After incentives, many homeowners end up paying $500-$1,500 out of pocket. Not bad for equipment that’ll save you thousands in gas money over the years!
Special Considerations and Common Scenarios
Renting or Condo Living
If you rent or live in a condo, you’ll need permission from your landlord or HOA. Many states now have “right to charge” laws that make it harder for landlords to refuse reasonable charging installation requests, especially if you pay for it yourself. Document everything in writing and offer to have the charger removed when you move out if that helps seal the deal.
Multiple EVs
Got two EVs or planning to add a second one? You have options:
- Install two separate chargers (requires more electrical capacity)
- Install a load-sharing charger that automatically divides power between two vehicles
- Use a single charger and alternate charging nights (most practical for many households)
Solar Integration
If you have solar panels, many smart chargers can integrate with your system to preferentially charge using solar energy during the day. This maximizes your energy independence and can significantly reduce charging costs.
Future-Proofing
Even if you’re buying a car that only accepts 7.2 kW charging today, consider installing a 40-50 amp circuit and charger. Your next EV will likely have a larger battery and faster charging capability. The incremental cost is minimal compared to upgrading later.
Troubleshooting and Maintenance
Once installed, EV chargers are remarkably reliable. However, here are some common issues and solutions:
Charger Won’t Start
- Check that the car is plugged in properly (sounds obvious, but it happens)
- Verify the charger has power (check breaker)
- Make sure any scheduling features aren’t preventing immediate charging
Slow Charging
- Verify your car’s charging settings aren’t limiting charge rate
- Check for loose connections
- Ensure you’re not running other high-draw appliances simultaneously (if your panel is near capacity)
App Connectivity Issues
- Restart your home WiFi router
- Check charger WiFi settings
- Update charger firmware if available
Maintenance
Good news: EV chargers need very little maintenance. Once a year:
- Inspect the cable for any damage or wear
- Clean the connector contacts with a soft, dry cloth
- Check mounting hardware is secure
- Test the GFCI protection (if applicable)
Making the Final Decision: Is Home Charging Right for You?
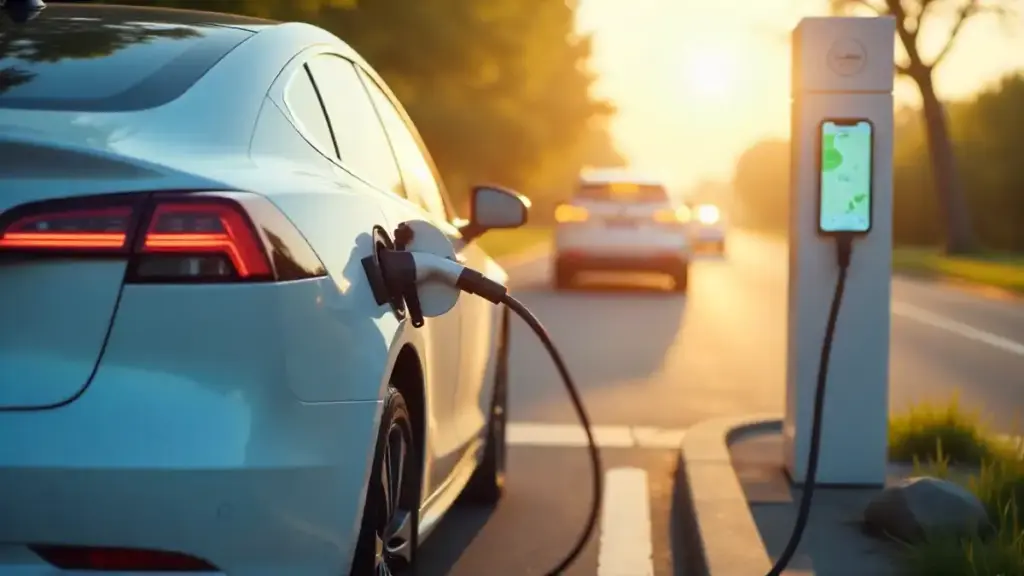
For most EV owners, installing a home charger is a no-brainer. The convenience of starting every day with a full charge can’t be overstated—it’s like never having to visit a gas station again. But let’s be honest about situations where it might not make sense:
Home charging might not be worth it if:
- You rent short-term and can’t recover installation costs
- You live in an apartment with no dedicated parking
- You have free charging available at work or nearby
- You drive very little (under 20 miles per day)
- You have easy access to public fast charging
Home charging is absolutely worth it if:
- You own your home
- You park in a garage or dedicated spot
- You drive 30+ miles daily
- You want maximum convenience
- You pay for gas at commercial charging stations regularly
The math usually works out strongly in favor of home charging. At average electricity rates (around $0.13 per kWh), you’re paying about $3-$4 to add 100 miles of range. Compare that to $10-$15 at public fast charging stations, and the home charger pays for itself within the first year or two for most drivers.
Your Next Steps: Getting Started Today
Ready to get your home EV charger installed? Here’s your action plan:
- Research your car’s charging capabilities – Check your vehicle’s manual for maximum AC charging rate
- Choose your charger – Select equipment based on your car’s specs and your budget
- Find qualified electricians – Get at least 3 quotes from licensed pros with EV experience
- Check for incentives – Research federal, state, utility, and local rebates in your area
- Schedule installation – Allow 2-4 weeks for permitting and installation
- Optimize your charging – Set up smart features and time-of-use charging schedules
Installing a home EV charger is one of those projects that seems daunting at first but turns out to be straightforward with the right information and help. Yes, there’s an upfront cost and some logistics to navigate, but the payoff—in convenience, savings, and peace of mind—is absolutely worth it.
Remember, this isn’t just about installing a piece of equipment. You’re setting up the infrastructure for years of cleaner, cheaper, more convenient driving. You’re making your home future-ready. And you’re joining millions of EV owners who wake up every morning to a fully charged car, ready to go, without ever thinking about finding a charging station.
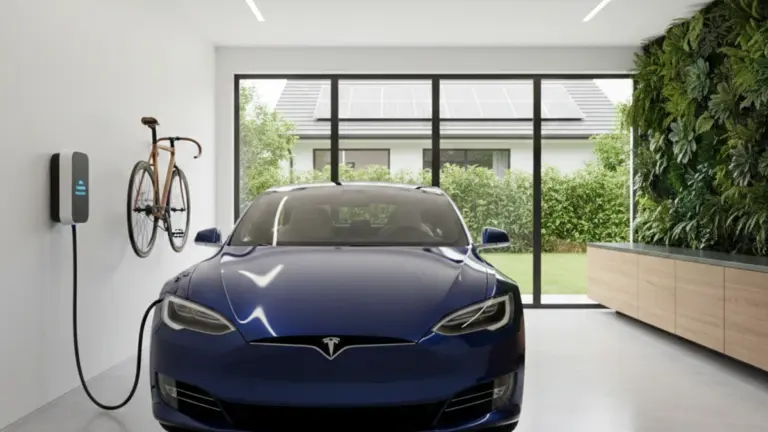
Welcome to the future of driving—it starts right in your own garage.
Have questions about home EV charger installation? Drop a comment below, and I’ll do my best to help you figure out the best solution for your specific situation!