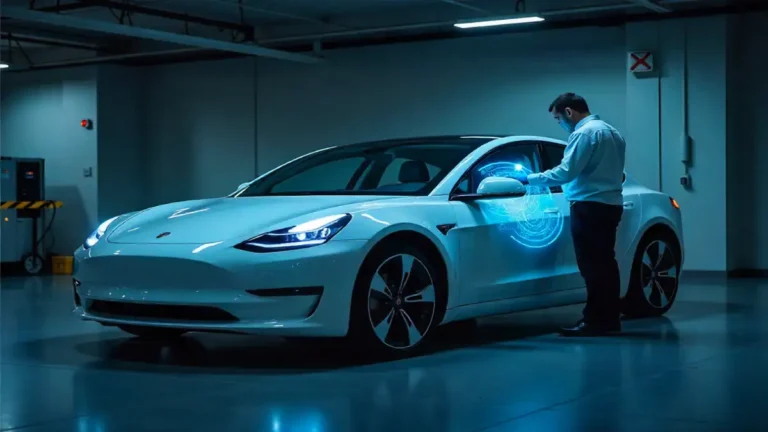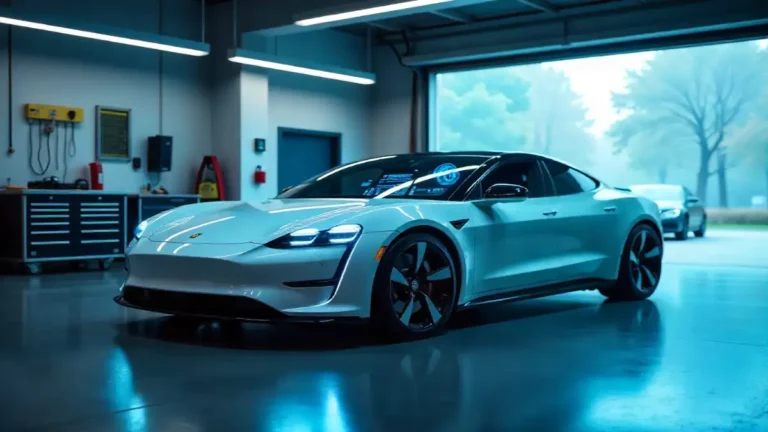
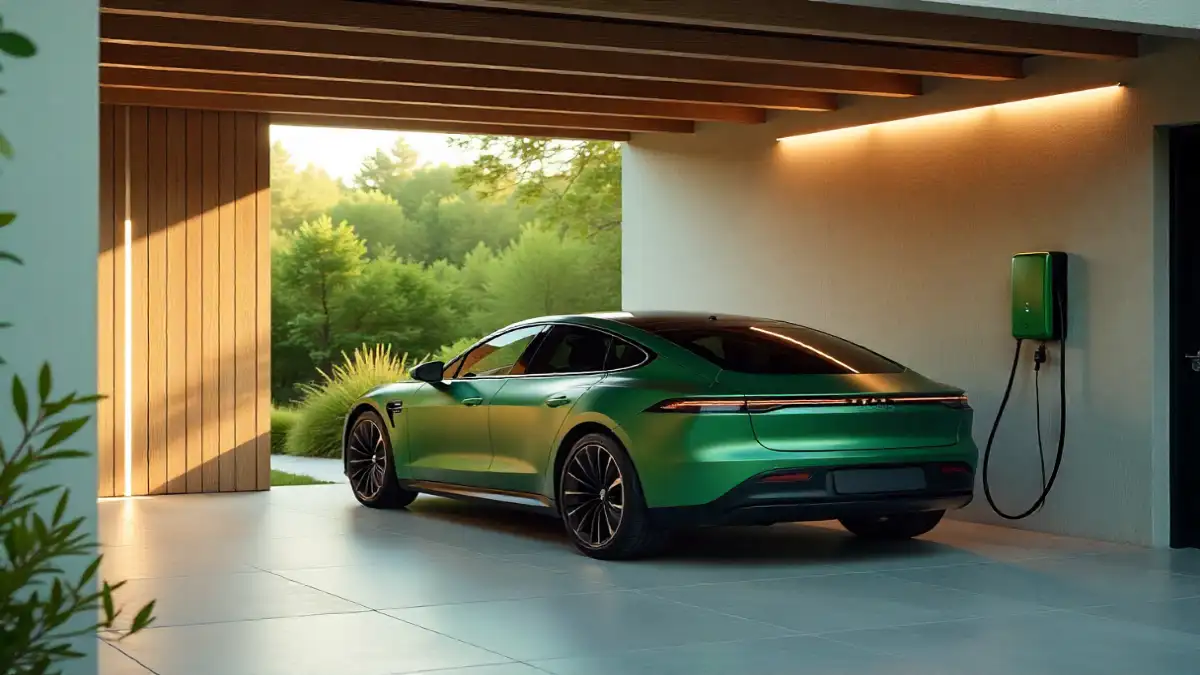
So, you’ve made the leap into electric vehicle ownership—congratulations! There’s nothing quite like that silent acceleration and the satisfaction of never visiting a gas station again. But here’s where the rubber meets the road: you need a reliable way to charge your new ride at home. Sure, you could use that standard wall outlet in your garage, but let’s be honest—charging at 3-5 miles of range per hour is about as exciting as watching paint dry.
That’s where a Level 2 home charger comes in. It’s the sweet spot for most EV owners, delivering 25-30 miles of range per hour. Think of it as upgrading from dial-up internet to fiber optic. In this guide, I’ll walk you through everything you need to know about installing a Level 2 charger at home, from understanding electrical requirements to flipping that switch for the first time.
Understanding Your Electrical Needs
Before you start drilling holes or calling electricians, let’s talk about what your home needs to support a Level 2 charger. These chargers typically require a 240-volt circuit—the same type that powers your electric dryer or oven. Most Level 2 chargers draw between 30 and 50 amps, meaning you’ll need a dedicated circuit that can handle that load.
Here’s what you need to check first: Does your electrical panel have space for a new circuit breaker? Most modern homes have 200-amp service panels, which usually have enough capacity for an EV charger. However, if you’re living in an older home with a 100-amp panel, you might need an upgrade. It’s like trying to run a modern gaming computer on an ancient power strip—technically possible, but not ideal.
You’ll also want to consider the distance between your electrical panel and where you’ll park your car. The farther the run, the thicker the wire you’ll need, and the more expensive the installation becomes. If your panel is on the opposite side of your house from your garage, you might be looking at some serious trenching or conduit work.
Choosing the Right Charger for Your Situation
Not all Level 2 chargers are created equal, and picking the right one matters more than you might think. The market offers everything from basic plug-in units to smart chargers that can schedule charging during off-peak hours, track energy usage, and even integrate with your home solar system.
Consider your vehicle’s maximum charging rate first. There’s no point in buying a 50-amp charger if your EV can only accept 32 amps—it’s like buying a firehose when you only need a garden hose. Most electric vehicles today can handle at least 32 amps, but always check your owner’s manual.
Do you want a hardwired unit or a plug-in model? Hardwired chargers connect directly to your electrical system and can’t be easily removed, but they’re typically eligible for more rebates. Plug-in chargers use a NEMA 14-50 outlet (think heavy-duty RV outlet) and offer more flexibility if you move or want to take the charger with you.
Smart features are worth considering too. Can you schedule charging to take advantage of cheaper electricity rates at night? Will you receive notifications when charging is complete? These conveniences might seem minor now, but they’ll make your daily life easier. Popular options include ChargePoint Home Flex, JuiceBox, and Tesla’s Wall Connector.
Navigating Permits and Local Regulations
I know, I know—permits and paperwork aren’t exactly thrilling. But skipping this step is like building a deck without approval: it might work fine until you try to sell your house, and then it becomes a nightmare. Most jurisdictions require an electrical permit for installing a Level 2 charger, and for good reason. This ensures the work meets safety codes and won’t overload your electrical system.
The good news? If you’re hiring a licensed electrician, they’ll typically handle the permit process for you. It’s usually included in their service, and they know exactly what your local building department requires. Permit costs vary widely—anywhere from $50 to $500 depending on where you live. Cities like San Francisco or New York tend to be on the higher end, while rural areas are often more affordable.
Some areas also require an inspection after installation. Don’t worry—if your electrician knows what they’re doing, this is just a formality. The inspector will verify that the circuit is properly sized, the charger is correctly installed, and everything meets the National Electrical Code. Think of it as a safety check that protects you and your home.
Here’s a pro tip: check if your utility company or state offers rebates or incentives for installing a home charger. Many do, and they can significantly offset your installation costs. Some utilities even offer special EV electricity rates that make charging cheaper during off-peak hours.
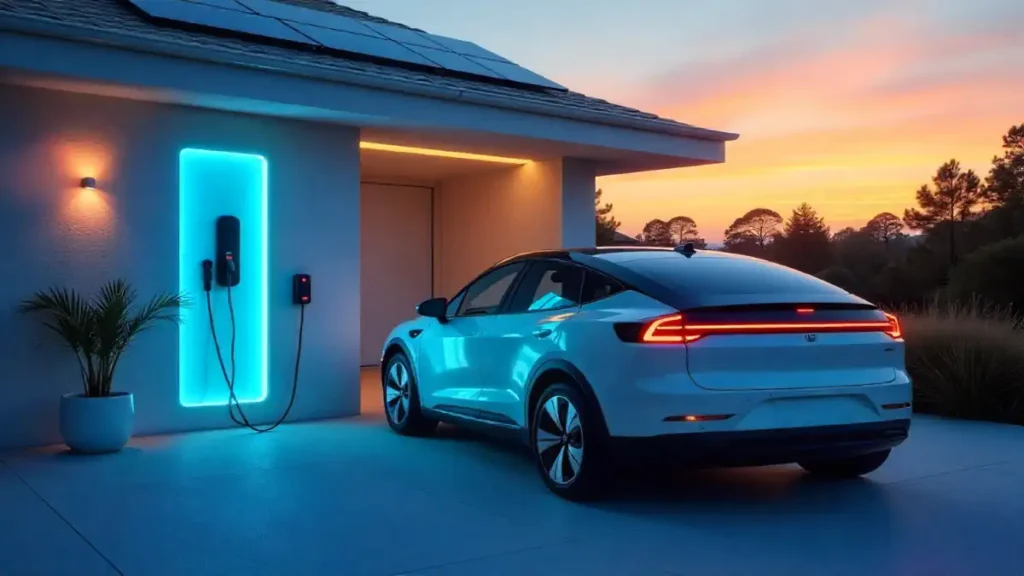
The Installation Process: What to Expect
Now for the main event—the actual installation. If you’re handy with electrical work and comfortable working with 240-volt circuits, you might be able to DIY this project. But let me be clear: this isn’t like changing a light fixture. We’re talking about serious electrical work that can be dangerous if done incorrectly. For most people, hiring a licensed electrician is the smart move.
Here’s what a typical professional installation looks like. First, your electrician will assess your electrical panel and the installation location. They’ll determine the best route for running the cable and whether your panel can handle the additional load. This usually takes about 30 minutes to an hour.
Next comes the actual installation work. Your electrician will install a new circuit breaker in your panel, run the appropriate gauge wire to your charging location (usually 6 or 8 AWG copper wire for most installations), and mount the charger on your garage wall. If you’re going with a plug-in model, they’ll install a NEMA 14-50 outlet instead of hardwiring the charger directly.
The whole process typically takes 4-8 hours, depending on the complexity. Straightforward installations in newer homes where the panel is close to the garage might take just half a day. More complex installations requiring conduit runs through walls or underground trenching can take longer.
Your electrician should also ensure proper grounding and install any necessary conduit to protect the wiring, especially if it’s exposed. They’ll test the circuit thoroughly before letting you plug in your car. Safety first, always.
Costs and Budgeting Considerations
Let’s talk numbers, because this is probably what you’re most curious about. The total cost of installing a home EV charger typically ranges from $800 to $2,500, but it can go higher for complex installations.
Here’s how that breaks down. The charger itself costs anywhere from $300 to $900 for a quality Level 2 unit. Basic models without smart features sit at the lower end, while premium chargers with Wi-Fi connectivity, scheduling, and energy monitoring command higher prices.
Electrician labor is usually the biggest variable, typically running $300 to $1,500 depending on your location, the complexity of the installation, and how far they need to run the wiring. If you need a panel upgrade because your existing service isn’t sufficient, add another $1,500 to $3,000 to the bill.
Don’t forget about permits and inspection fees, which we discussed earlier. And if your installation requires trenching (running wiring underground to a detached garage, for example), that can add several hundred dollars more.
The bright side? Many areas offer incentives that can reduce your out-of-pocket costs significantly. Federal tax credits, state rebates, and utility company incentives can sometimes cover 30-50% of your installation costs. Check the Database of State Incentives for Renewables & Efficiency (DSIRE) to see what’s available in your area.
Safety Considerations and Best Practices
Your home EV charger will likely be the most powerful electrical device in your house, so let’s make sure it’s installed safely. First and foremost, always use a licensed, insured electrician unless you’re genuinely qualified to do electrical work yourself. This isn’t the time to learn on the job.
Make sure your charger is rated for outdoor use if it’s being installed outside, even under an overhang. Look for a NEMA rating of at least 3R or 4. Weather happens, and your charger needs to handle rain, snow, and temperature extremes without becoming a safety hazard.
Consider installing the charger on a dedicated circuit with Ground Fault Circuit Interrupter (GFCI) protection. Modern chargers often have this built-in, but your electrical code might require it at the breaker level too. GFCI protection is like having a safety net—if there’s any electrical leakage, it cuts power instantly before anyone can get hurt.
Think about cord management too. Those charging cables can be surprisingly long (18-25 feet is common), and you don’t want them creating a tripping hazard or getting run over by your car. Wall-mounted cable organizers or retractable cable reels keep things tidy and safe.
Finally, position your charger thoughtfully. Mount it where you can easily reach your car’s charge port without the cable being stretched tight or dragging on the ground. Most people install their chargers about 4-5 feet off the ground, but your ideal height depends on your vehicle’s charge port location.
Making the Most of Your New Charger
Once your charger is installed and inspected, you’re ready to experience the convenience of home charging. But here are a few tips to maximize your investment. If your charger has smart features, take time to set them up properly. Program it to charge during off-peak hours when electricity is cheapest. Most utilities offer time-of-use rates that can cut your charging costs by 30-50%.
Keep an eye on your first few electricity bills to understand your new energy usage patterns. Most EVs cost $30-60 per month to charge at home, which is still far cheaper than gasoline, but it’s good to know what to expect.
Consider having your electrician install your charger on a sub-meter if your utility offers special EV rates. Some utilities provide significantly discounted electricity rates for EV charging but require separate metering to qualify.
Remember to keep your charger’s firmware updated if it’s a smart model. Manufacturers regularly release updates that improve performance, add features, and enhance security. It’s like updating your phone—easy to forget, but worth doing.
Your Journey to Home Charging Independence
Installing a Level 2 charger at home is one of the best investments you can make as an EV owner. Yes, there’s an upfront cost and some logistical planning involved, but the convenience and long-term savings make it absolutely worthwhile. Imagine starting every day with a full “tank” without ever leaving your driveway. No more gas stations, no more oil changes, no more wondering if you need to fill up before tomorrow’s commute.
The process might seem daunting at first, but breaking it down into these manageable steps makes it much more approachable. Assess your electrical situation, choose the right charger for your needs, handle the permitting properly, hire a qualified electrician, and soon you’ll be charging at home like a pro.
Ready to take the plunge? Start by getting quotes from at least three licensed electricians in your area. Ask about their experience with EV charger installations specifically—this isn’t the time for someone learning on your dime. Check what incentives and rebates you qualify for. And most importantly, enjoy the freedom and convenience that comes with never having to hunt for a public charging station again.
Welcome to the future of transportation. Your garage is now your personal charging station, and the open road awaits.